On a whim a couple of weeks ago my mom and I stopped at a nearby yard sale in hopes of finding a hidden treasure buried beneath old picture frames, nick-knacks and other junk we knew we would never use.As we rummaged around the sale, we stumbled upon this quaint little end table that we could not pass up . . . . FIVE bucks!!
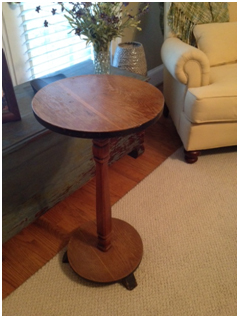
The table itself was sturdy and in pretty good shape, but it lacked style and pizzazz and had definitely seen better days. For mom, this was a no-brainer….there is just something about a $5.00 find. So loading it in the car we began to think of different ways we could transform the table to bring it back to life; hence our little weekend project.
Painting the table was our original thought. We set our sights on finding a great modern color that would still capture the overall charming presence the table exudes. At a local antique and vintage market, we found an awesome vendor who sells not only refinished furniture and antiques, but also everything from painted picture frames to flower pots and, lo and behold, paints and glazes for the avid DIY’er. With the paint choices being offered, we found our answer and decided to give this a whirl and begin painting our little yard sale find. Here’s how we went about it:
Step one:
Prime the table with a cleaning solution or just wipe down with water and a cloth to ensure all dirt and grime are off the table.
Step two:
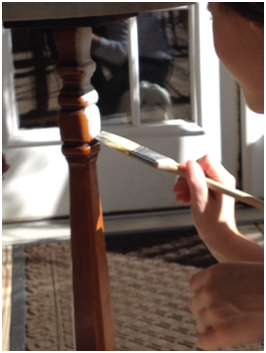
Begin painting! I used the color Grey Mist from Rethunk Junk by Laura as the main coat of paint. Using a bristle brush, cover the whole table making sure there are no drips.
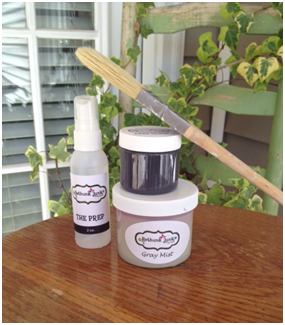
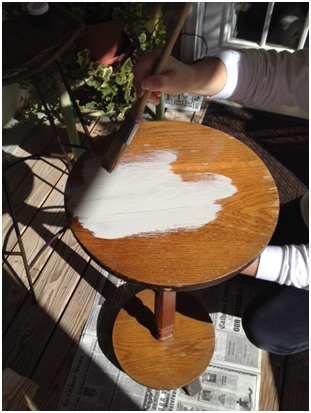
Even my dog Baxter approves!
Step three:
Let the paint dry and apply a second coat to ensure all spots are covered and to your liking.
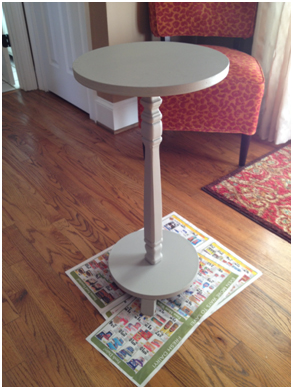
Step four:
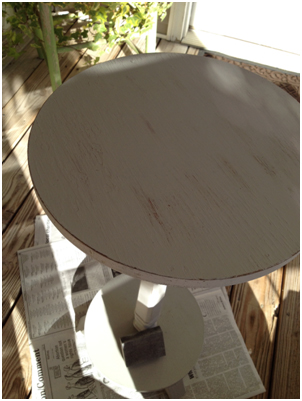
Once your last coat of paint has dried it’s now time to distress the table. Start by using an 80-grit piece or block of sand paper to create a worn or weathered effect for the table. Scratch off in the normal places furniture ages (going with the wood grain direction) to really make the piece look like a true vintage work of art. Random scratches are usually the best and don’t worry… if something goes wrong, it’s only paint, you can paint over it!
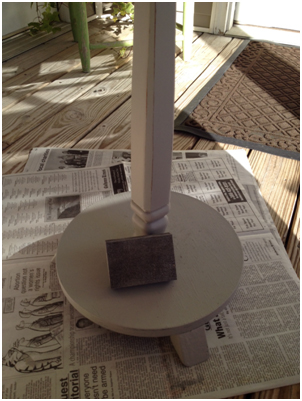
Step five:
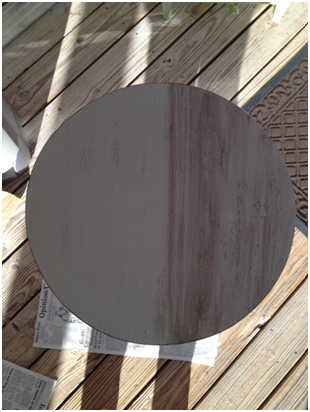
If you are pleased with how your table looks, then no need for glaze. At this point you could finish with a sealer. However, if you are looking for an antique look, apply glaze to the table using a brush and swiping in one direction. Also have a damp cloth in hand to wipe off any excess glaze or to erase any mistakes. Look at the difference the glaze made (right side)!
Step six:
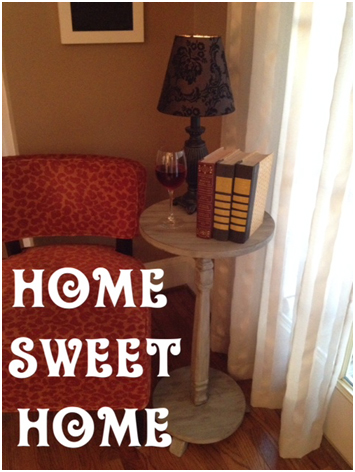
Once you have applied the glaze to your satisfaction, allow table to dry and you are done!
See how simple that was! The beauty of it all? If you don’t like it or want to change anything about your result, you can paint over or fix any mistakes easily. I happen to think the mistakes are what makes the table unique! They’re exactly what brought life back into this old and outdated yard sale find.
*I am an employee of Mohawk Home
Written by:
Hailey Green, Intern


