Ever since I was a little girl, Valentine’s Day has always included the giving and receiving of sentimental cards. I remember in primary school we would all make sweet Valentine’s Day cards out of construction paper, glue, crayons, and sometimes glitter (when the teacher was feeling extra brave). After we made the cards, we would then distribute them to each student in the classroom. Even though that was some time ago, I still think homemade cards are a wonderful idea to give to those around you this Valentine’s Day.
I know in our busy lives it is easy to go to the store, grab a card, and send it on its way. However take the time this year to follow this cute and simple DIY Valentine’s Day card tutorial and show that special someone just how much they mean to you!
What you will need:

- Cardstock Paper (white, red, pink, etc.)
- Scissors or heart punch
- Glue Stick
- White Glue
- Sewing Machine

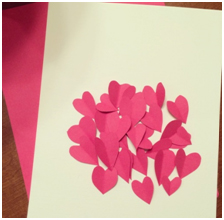
First fold the white cardstock paper to make a card. Once you have folded the paper, either cut or punch hearts out of the red or pink colored paper.

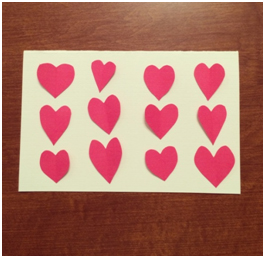
Place the hearts on the front of the card in your preferred arrangement. When you are satisfied with the location of the hearts, paste the hearts to the card using the glue stick.

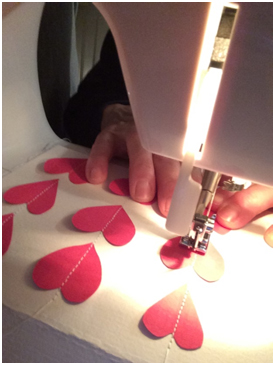
Next, run your card through your sewing machine. The goal is to sew straight lines through the rows of hearts but don’t worry if your lines aren’t completely straight.

After you have sewed your lines on the card, turn the card over and put a dot of glue on each of the loose ends of thread. This helps secure the lines so your hearts will not shift from their locations. Once the glue is dry, you can then trim the threads from the front and back of the card.

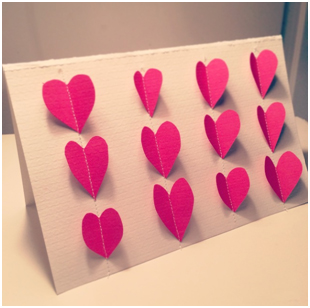
Finish the card by gently peeling up each heart and folding it down the center to create the fluttering hearts affect.
And there you have it! Your own simply sweet homemade Valentine’s Day card that you can give to all the special people in your life!
Happy Valentine’s Day!
* I am an employee of Mohawk Home
Written by:
Hailey Green, Intern


Adorable!