Knowing how to make a paper banner can be helpful for many different celebrations. You can customize and create your own banners for birthdays, baby showers, wedding showers, holidays and special occasions. With some basic supplies, anyone can create a DIY paper banner!
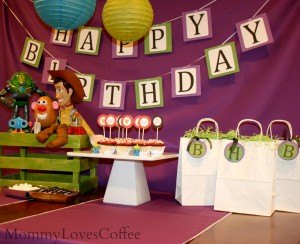
This one pictured, I made for my son’s Easy, Inexpensive Toy Story Themed Kid’s Party. To duplicate this look you’ll need:
Materials
- 2 colors of cardstock paper
- Printer and computer
- Double sided tape
- Corner round punch
- Hole punch
- Ribbon
- Scissors and/or paper cutter
Directions
- In a typing or word document, type one to two letters per page in a large font.
- Check the settings on your printer and change to print on thick paper (if needed) before printing each letter.
- Using a paper cutter or scissors, cut out each letter to your desired size square.
- Using a corner rounding punch, round each corner (optional).
- Place double-sided tape on the backside of each printed letter, affix to a second color of cardstock paper.
- With a paper cutter or scissors, cut the second cardstock to the desired size – so it frames the first piece of paper.
- Using a corner rounding punch, round each corner (optional).
- Punch two holes approximately 1 /2-inch apart at the center top of each square.
- Leave at least 6 inches of ribbon on one side of the banner then start threading the ribbon through the punched holes at the top of each square. Thread from behind the square first to ensure the banner hangs properly.
- Leave at least 6 inches of ribbon on the other side of the banner to allow for hanging.
Tip: You can tape or hot glue the ribbon to the backside of each square after placing each square so they don’t slide or move on the ribbon. If you use a thicker ribbon, you probably won’t need to complete this optional step.
More Paper Banner Tips
- If you prefer, you can skip using the computer and printer to create your custom paper banner. Simply cut your squares first, then use a bold marker to create your letters.
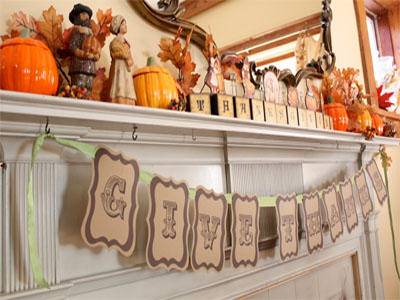
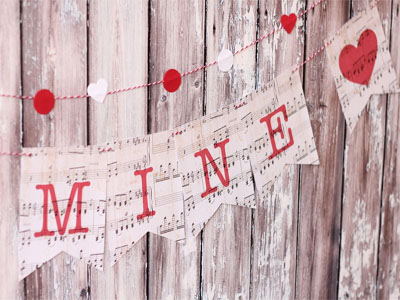
- Play around with the shapes on your banner. You can cut out hearts, stars, circles or pennant flags – you don’t have to use squares! You can also interchange the shapes and cardstock colors to make it really pop, such as the ones below….

Written by:
Christina Holt, Writer/Teacher- Mommy Loves Coffee


