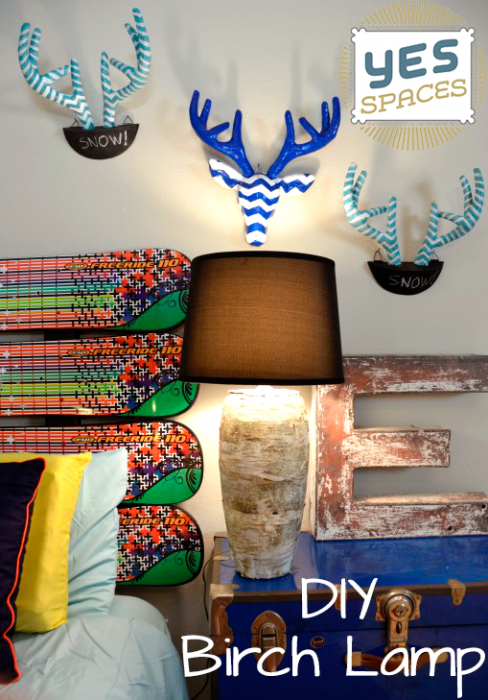
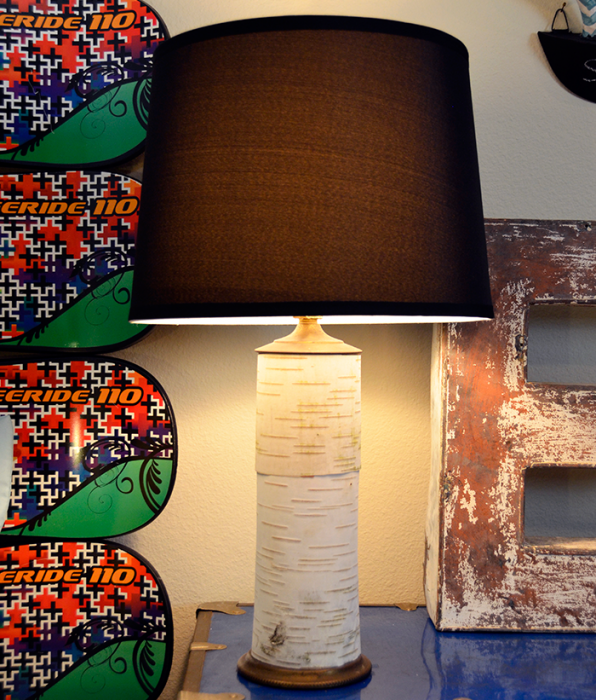
Natural textures and tones are a great way to add a rustic, seasonal feel to any space. You could hunt down some great imitation patterns, but why not go straight to the source? Today I’ll teach you a simple technique for updating an old lamp with some natural birch bark you can pull straight from your yard!
The mounted chevron antlers we posted in Spring are a great companion project for this and very kid-friendly. If you’ve got some little helpers who want to do their own DIY project alongside you, take a look!
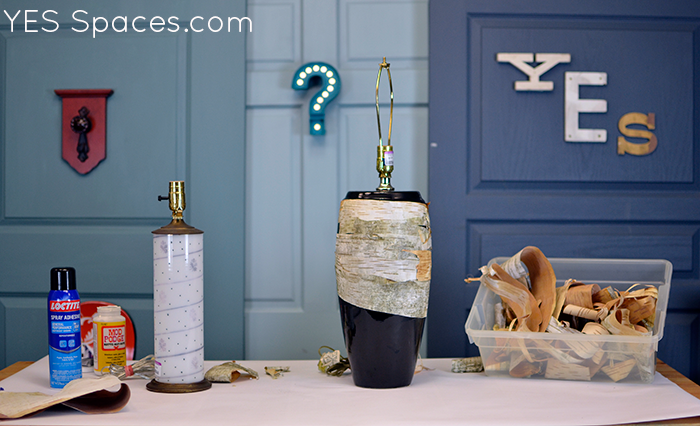
What You’ll Need
- A lamp with a simple shape. I found two perfect lamps at Goodwill, though the straight lamp was much simpler to cover than the curved.
- A black lamp shade (looks fantastic with the white birch bark)
- Mod Podge & a brush to apply it with
- Loctite Construction Adhesive (or any other quick-setting, reliable, and clear adhesive you want)
- Gray, white, and mossy green acrylic paint
- A small art brush you can get rough with
- Paper towels
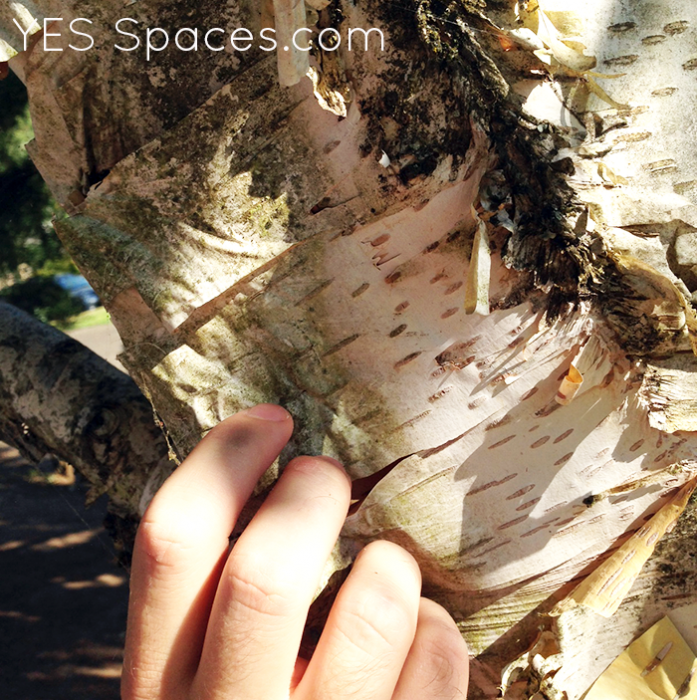
Of course you can’t forget the most important part of this project — the birch bark! If you have birch trees in your yard or nearby, the bark should peel off in pieces that resemble a thick piece of paper. The weathered white pieces with mossy sections tend to work best for this project.
My Process
- Wash your lamp thoroughly! Especially if you grabbed it out of storage or from a thrift store — you want to make sure there’s no dust or oil that will keep the glue from sticking
- Lay out your pieces of bark and take a moment to see where they’ll fit together best
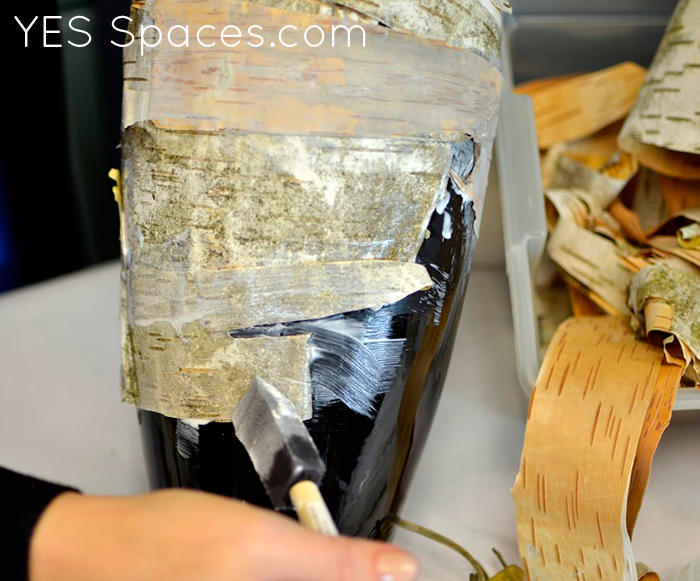
- Coat a section of the lamp in Mod Podge
- Apply your pieces of bark to the lamp, making sure to overlap each piece so nothing shows through from the lamp below
- The lighter colored underbark pieces will often be larger and more durable and you may find that you need to use one of these pieces, but the color doesn’t match. Streak some light grey acrylic paint over the bark and stipple it with white and mossy green until it blends, blotting and wiping with a paper towel as you go.
- Use your heavier, tackier glue to stick down any uncooperative bark edges that won’t smooth to the surface with Mod Podge alone
- Once your done applying bark and you’ve covered up everything underneath, finish it off with a coat of matte Mod Podge to seal it and make it cleanable.
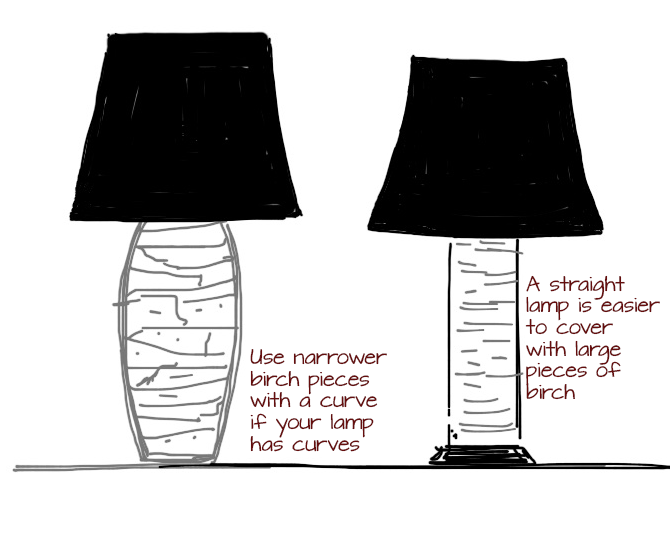 This project can be adapted to a number of different materials. Birch works great because it’s thin, wraps cleanly in large pieces, and can be stuck on with mod podge. Take a look around your yard and if you’re inspired by other natural materials that look like they might work, give it a shot! You don’t even need to use a lamp — this technique can be used on anything that Mod Podge can stick to.
If you give this project a try or put your own twist on it, let us know how it goes in the comments below!
Mohawk Home Spotlight:
To carry the rustic theme of this project throughout any room, consider pairing with it this Mohawk Home Calistoga Carson Diamond Woven Rug.


