

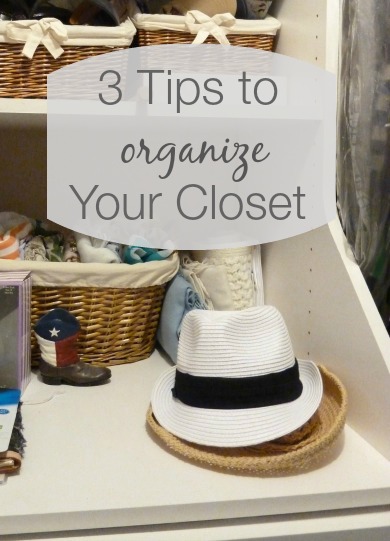
Ever since I launched my Small Space Project back in January, the master closet has been inching toward the top of my list. It really doesn’t fall into a “small” space category, but it was in desperate need of reorganization, and was growing fangs from weeks of me sticking things in there to be dealt with later.
I’m blessed to have lots of hanging space, shelves and even drawers in my master closet, so the state of disarray was inexcusable… and driving me crazy. I immersed myself in there for an afternoon and got things back in order. And along the way, I realized it’s just a three-step process to reorganizing a closet. Not so overwhelming when you think of it that way!
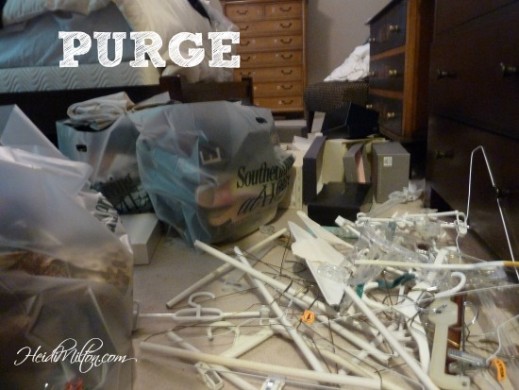
This is what I started with…
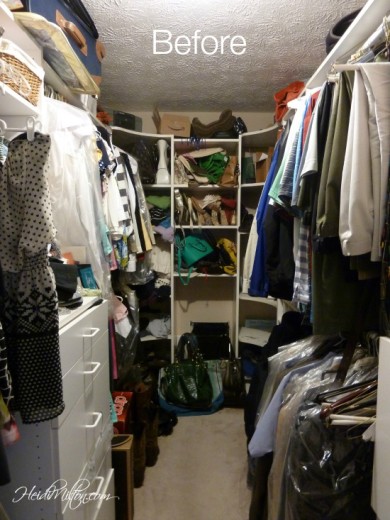
What was once a relatively organized space had gotten out of control with too much stuff. I decided to tackle all the spaces I could see — the hanging spaces and shelves. And my first step was to purge.
And I mean, mercilessly. Ask yourself two questions as you go through your closet:
- Have I worn/used it within the last year or know I will need it in the near future?
- Can someone else wear/use it?
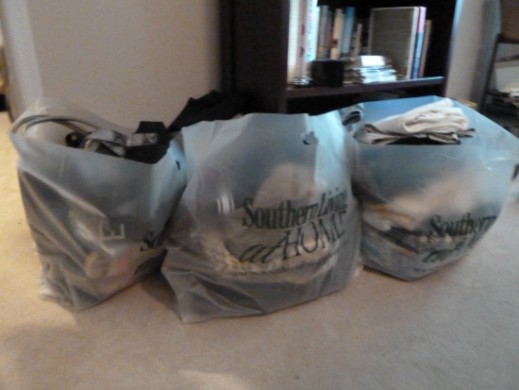
If your answer to the first question is no, then ask yourself the second question. If the item is in relatively good condition, put it in a pile to donate. In my case, I had already scheduled a charity pickup for a few days later, so I began bagging items fit for donation. I also have a friend that would enjoy gently/barely worn dresses or skirts, so I started a separate bag for her. Anything not fit for donation went into a pile to be tossed or dismantled for another use. I was also amazed at the number of hangers that were falling apart, shopping bags, and empty shoe boxes — just stuff that needed to be tossed. I ended up with three huge bags to donate and another smaller bag for my friend. Success!
And now that I was already feeling like I was making progress, I took stock of everything left and began to rethink a few pieces.

I had things that were missing buttons or needed to be laundered or pressed before they could be worn again. So I made a piles for each of those things as well. Fortunately there isn’t a whole lot of that to be done, but I did discover those white linen cropped pants with a stain low on the right leg. They are now being altered into shorts so I can continue to wear and enjoy them. See if there’s a way to salvage all or part of your favorite pieces and take action on them — don’t let those piles languish or you’ll be right back where you started!
Now that I had pulled those items out as well, it was time to reorganize.
For my hanging clothes, I followed the advice of a friend/fashionista: short to long, light to dark. For instance, my shirts and blouses begin with sleeveless tops and transition to short-sleeved, three-quarter sleeve, and then long-sleeved. Within each sleeve length category, I organized them by putting all my neutrals first: white, cream, gray, black. The patterns or other colors follow behind. My reason for doing so is that during the Purge, I discovered several neutral tops I’d been searching for but that had been buried in brighter, darker colors or different sleeve lengths. Now all my neutral tops are together!
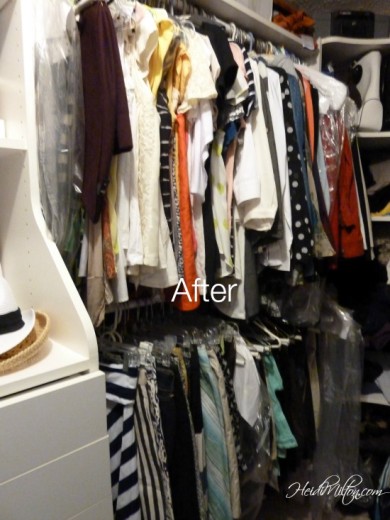
On the lower rack, I started with skirts, then longer shorts, cropped pants/capris, and then long pants. Again, I grouped all my neutral pieces at the beginning of each section so I can find them easily.
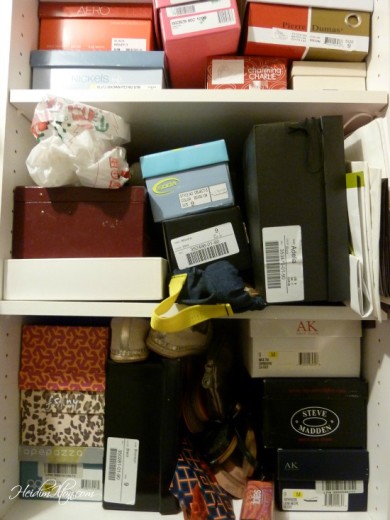
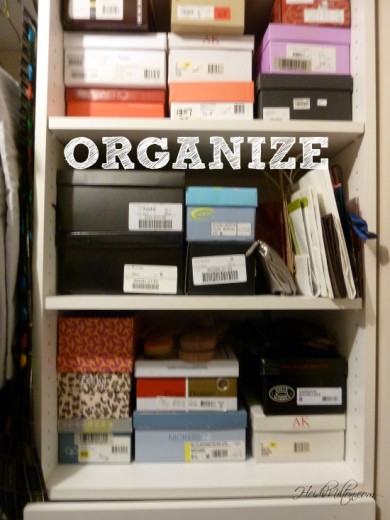
The shoes were pretty simple to organize as well, since I have the original boxes for most of them and shoe cubbies for the rest. I put the pairs I wear most often at eye level or within easy reach and those special occasion/rarely worn shoes on upper shelves.
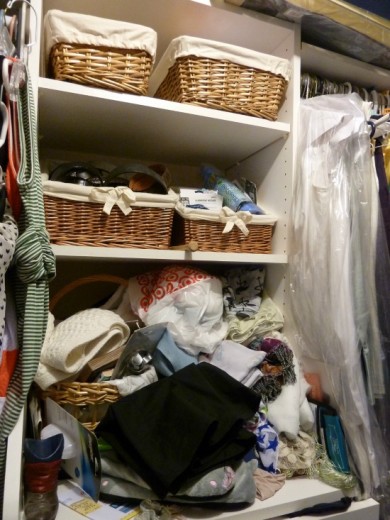
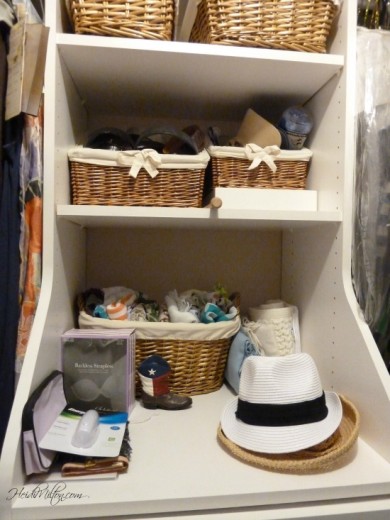
The shelves on the left with the baskets were just an embarrassment. No other way to describe it — piles of scarves, a skirt missing a button, baskets full of keepsakes, greeting cards, and oddities I hadn’t looked at or cared about in years. After the merciless Purge, I was able to use the baskets for hats and visors, belts, and neatly folded scarves. I have grand visions of moving all my jewelry onto this little dresser top at some point, but for now, it’s looking a million time better!
Three simple steps: purge, reassess, and organize. And now that I know exactly what’s in there, I can shop for a few new things. Not too many, now… I’m enjoying the breathing room. 🙂
Find more DIY decor and organizing inspiration at Decor & More.


Good advice here, and isn’t it a great feeling when it’s all done 🙂