Working for a huge company like Mohawk has many perks, but I must say my favorite is getting to work with different departments on big projects. I’ve had the pleasure of working with my colleague Kevin on many projects (Pssstttt…one was developing this blog and our websites). And through long meetings I learned he’s a brewmaster! The art of brewing great beer goes back centuries and it truly is an art. So I asked Kevin if he’d take some time away from his beloved laptop and family to teach us all how to brew! He said yes! So here you go a step by step process on how to brew your own Cream Ale which is PERFECT for spring!

Guest Post by Kevin Leclair, Digital Business Architect at Mohawk Industries
With the Spring season around the corner – cookouts, picnics, and sunny days are upon us. Many enjoy a refreshing cold beer to compliment their meal during the Spring season, so why not brew your own beer to share with family and friends?
Beer brewing is not as mysterious as some may think – if you can follow a recipe you can brew your own beer.
The first step in the beer brewing process is selecting the type of beer you would like to brew. Ales and Stouts are friendlier to the home brewer as they require less gear and typically do not require refrigeration during the fermentation process as most Lagers do.
Today we are brewing a Cream Ale using an extract kit. NorthernBrewer.com offers a wide variety of beers available for the home brewer – if you are just starting out I recommend their Deluxe Brewing Starter Kit, which includes a beer extract kit. Extract kits are a great introduction to home brewing and require less gear and setup than all-grain home brewing.
Now into the fun! Layout all of your beer brewing supplies and beer recipe kit for brew day. Every beer recipe will be different, so follow the recipe carefully.
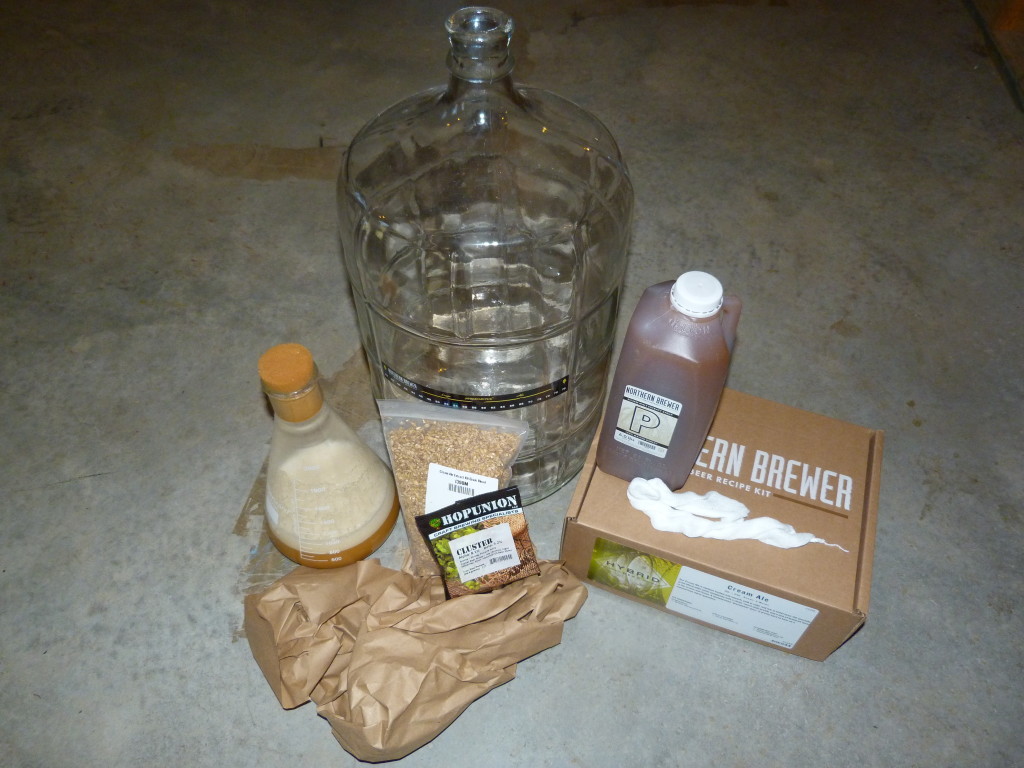
The Cream Ale Extract Kit includes the following:
- 0.75 lbs. Gambrinus Honey Malt (Specialty Grain)
- 0.25 lbs. Belgian Biscuit (Specialty Grain)
- 6 lbs. Pilsen malt syrup (Fermentable)
- 1 oz. Cluster (Hops and Flavorings)
- Safale US-05 Ale (Dry Yeast)
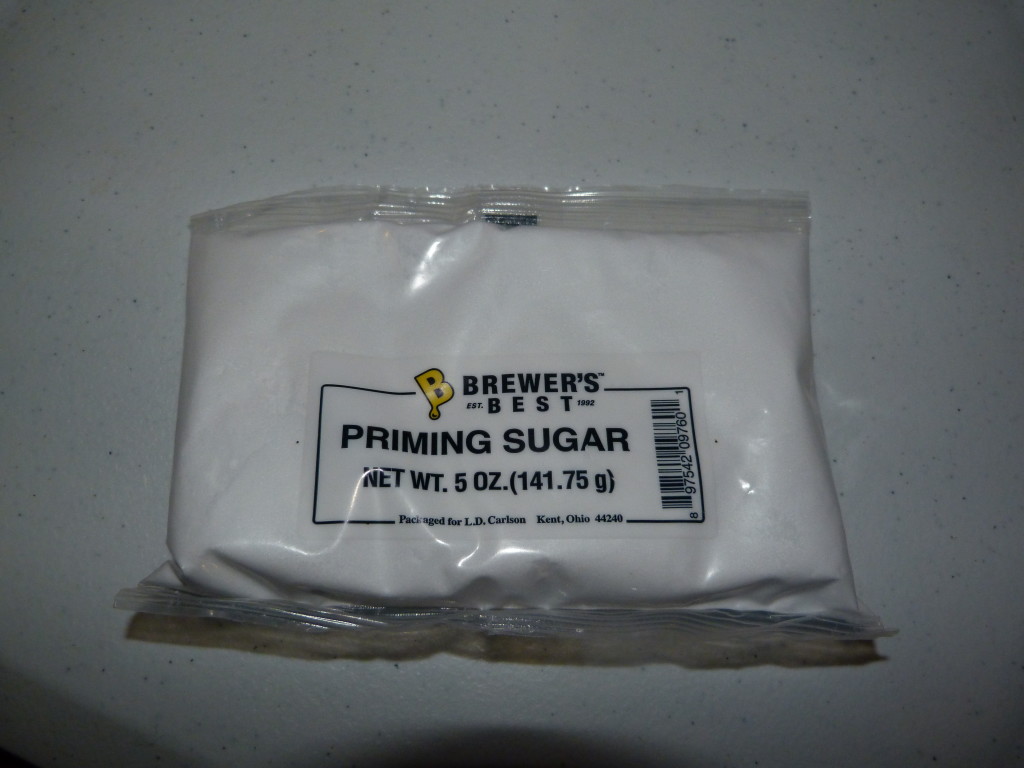
- 5 oz. Priming Sugar (save for bottling day)
1. Collect and heat 2.5 gallons of water.
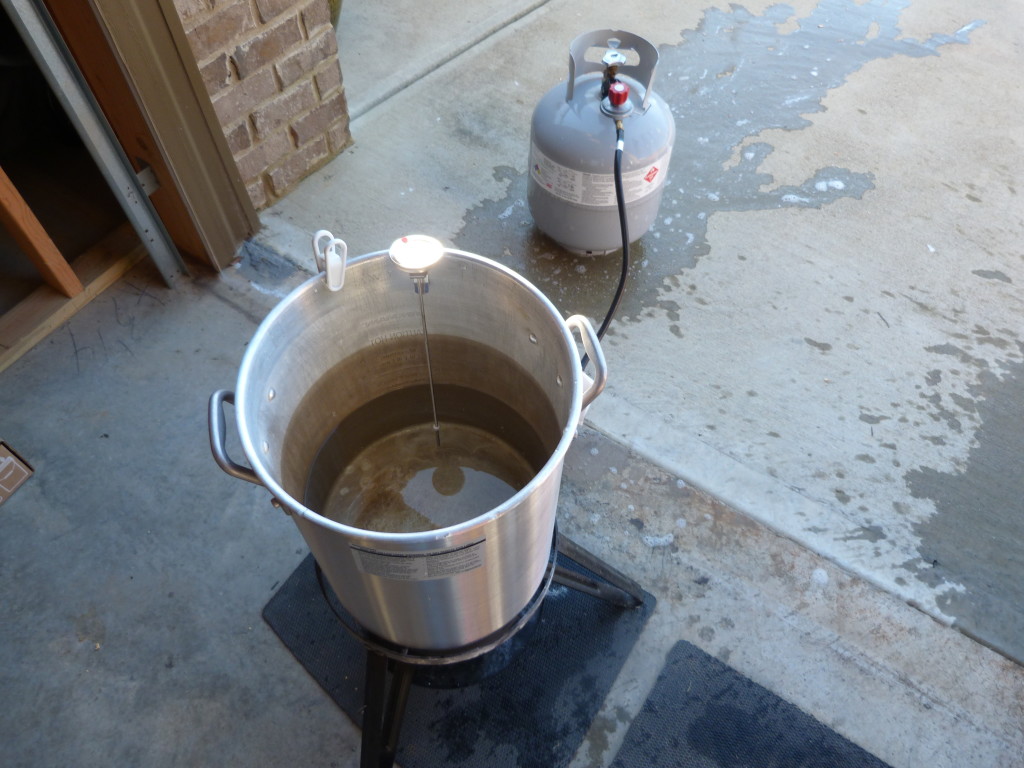
2. Pour Specialty Grains, 0.75 lbs. Gambrinus Honey Malt and 0.25 lbs. Belgian Biscuit, into supplied mesh bag and tie the open end in a knot. Steep Specialty Grains for 20 minutes or until water reaches 170° F. Remove Specialty Grains mesh bag and discard.
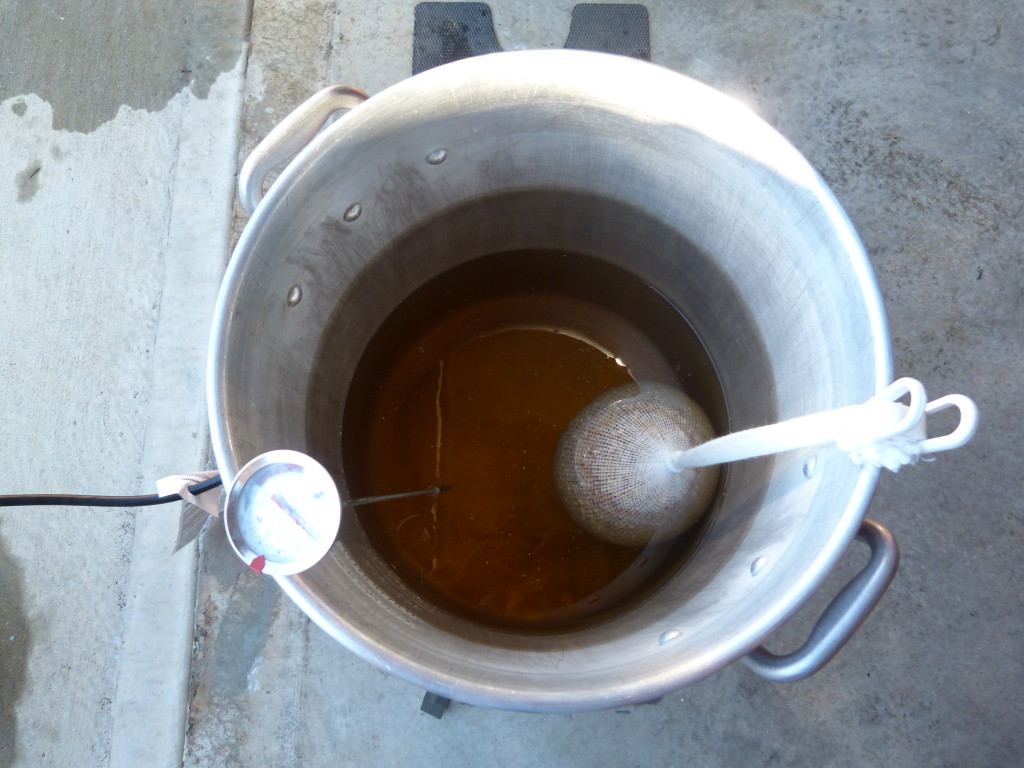
3. Bring to a boil (212° F) and add the 6 lbs. Pilsen malt syrup. Remove the boil kettle from the burner and stir in the Pilsen malt syrup.
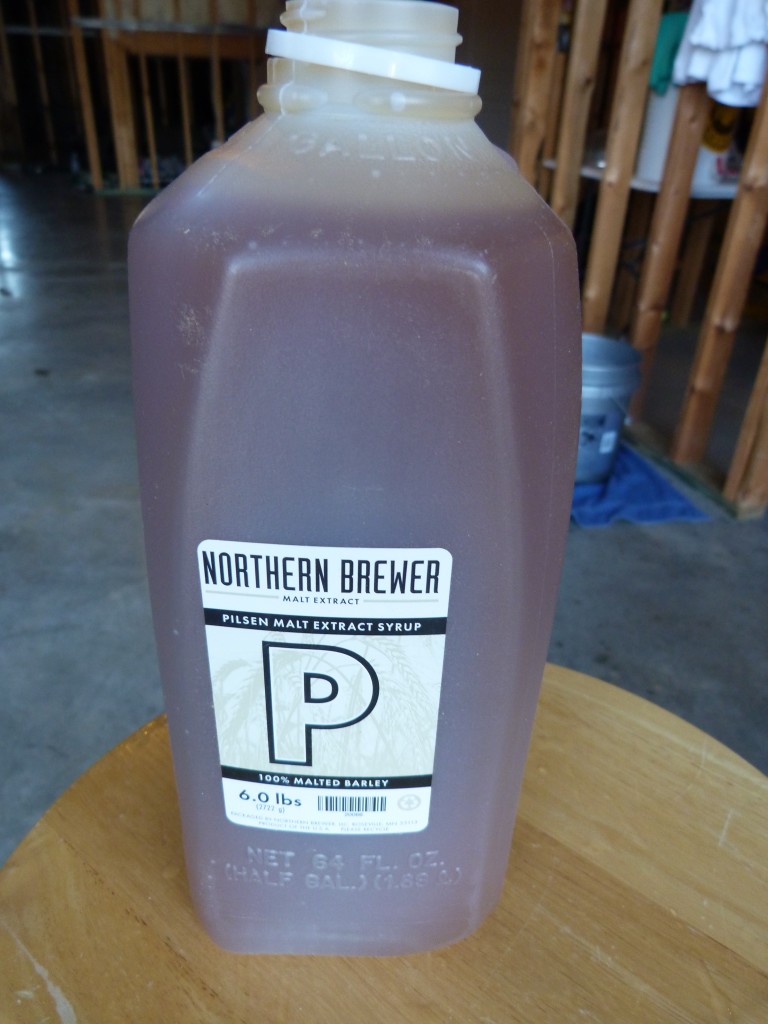
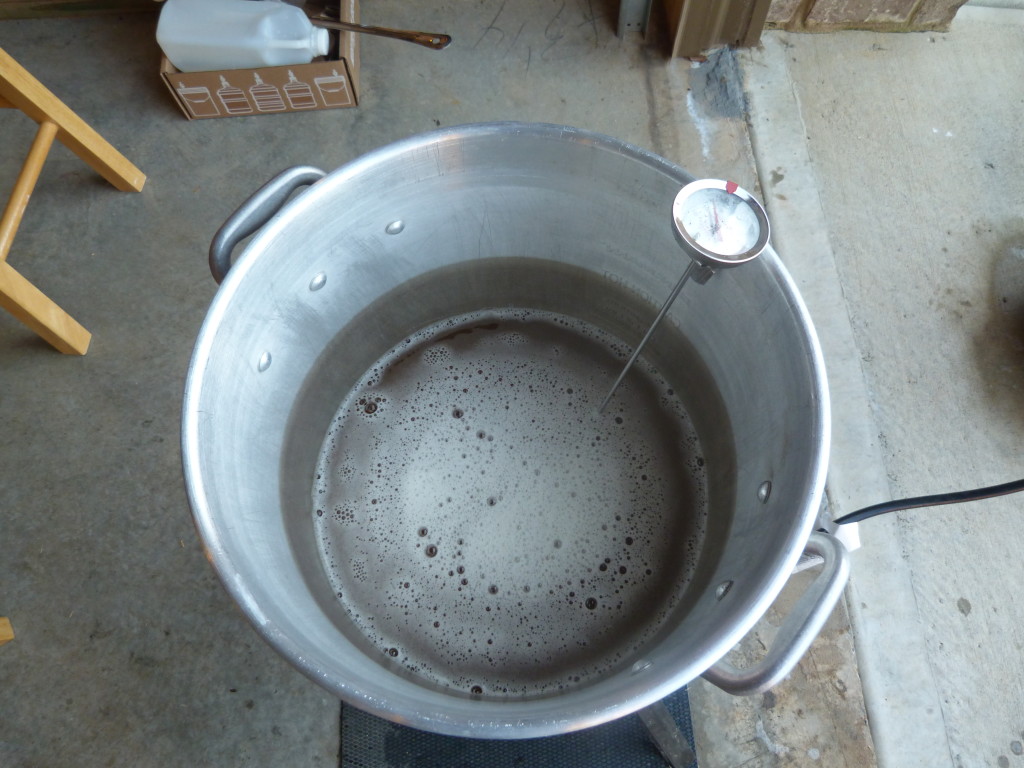
4. Return wort to boil. The mixture is now called “wort”, the brewer’s term for unfermented beer.
5. Add 1 oz. Cluster hops and boil for 60 minutes.
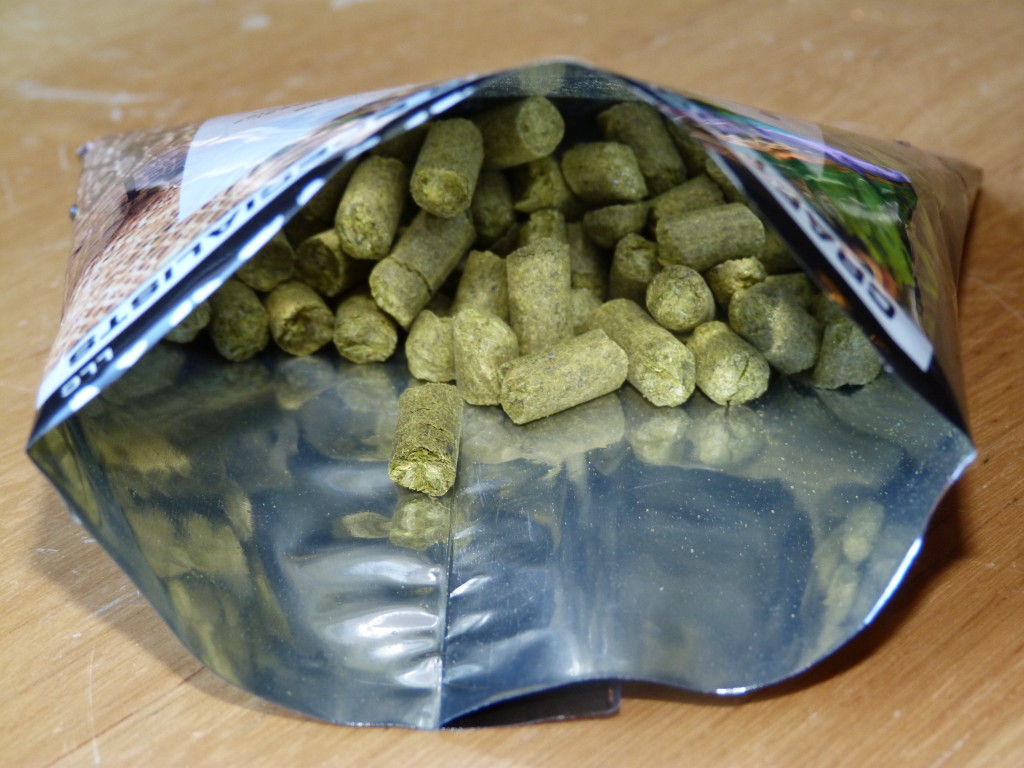
6. Cool the wort. When the 60 minute boil is finished, cool the wort to approximately 100° F as rapidly as possible. Use a wort chiller (optional equipment), or put the boil kettle in an ice bath.
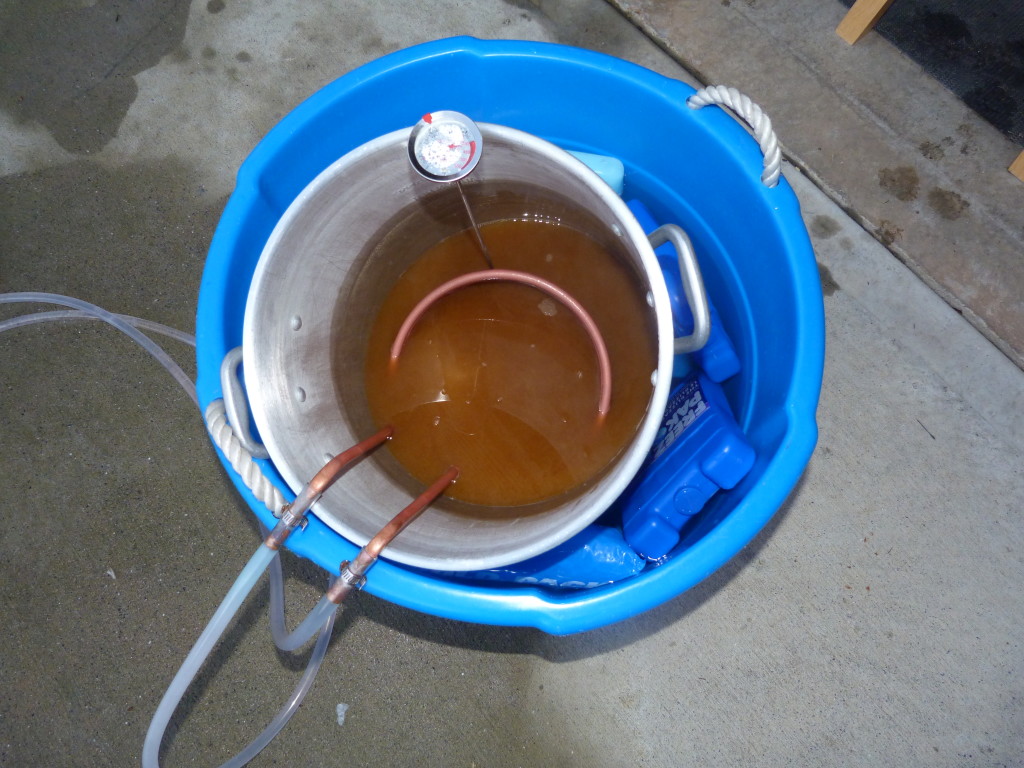
7. While the wort cools, sanitize the fermenting equipment – fermenter, lid or stopper, fermentation lock, funnel, etc. – along with the yeast pack and scissors. Optionally, you may use a yeast starter if you have prepared one.
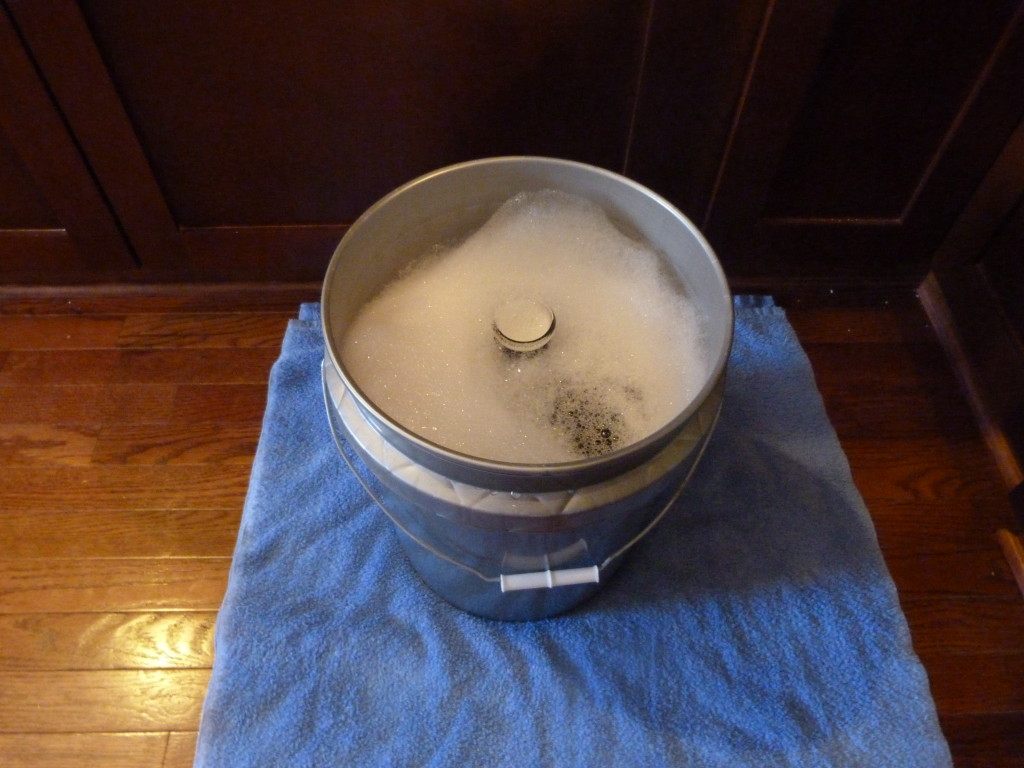
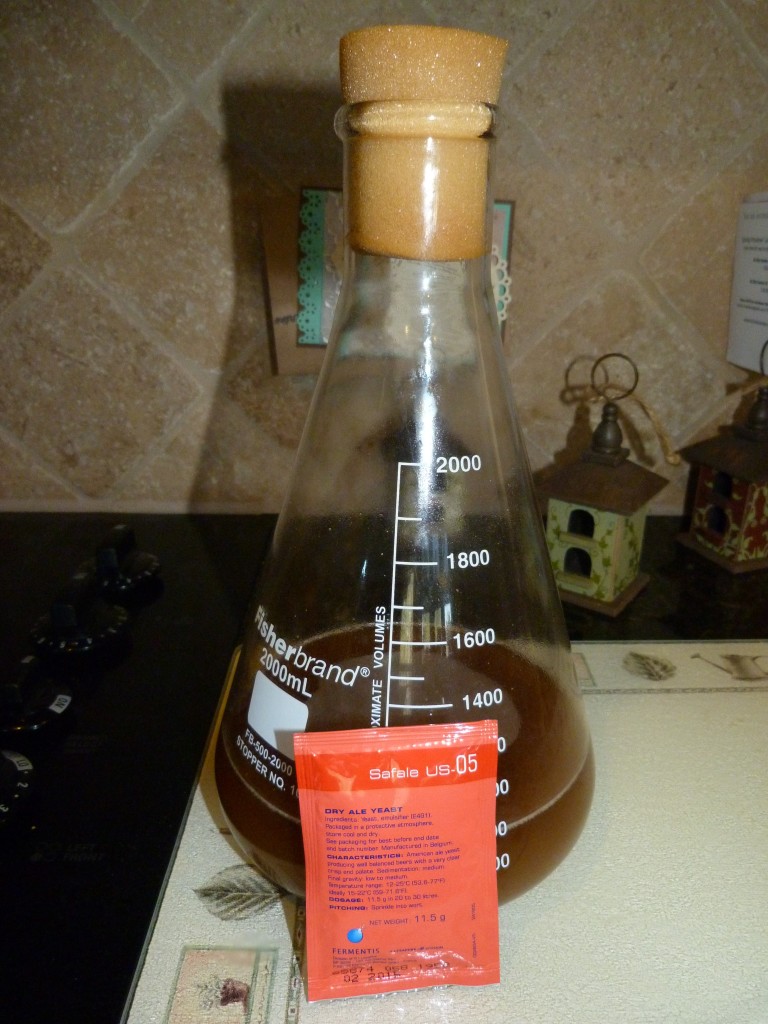
8. Fill the primary fermenter with 2 gallons of cold water, then pour in the cooled wort. Leave any thick sludge at the bottom of the boil kettle.
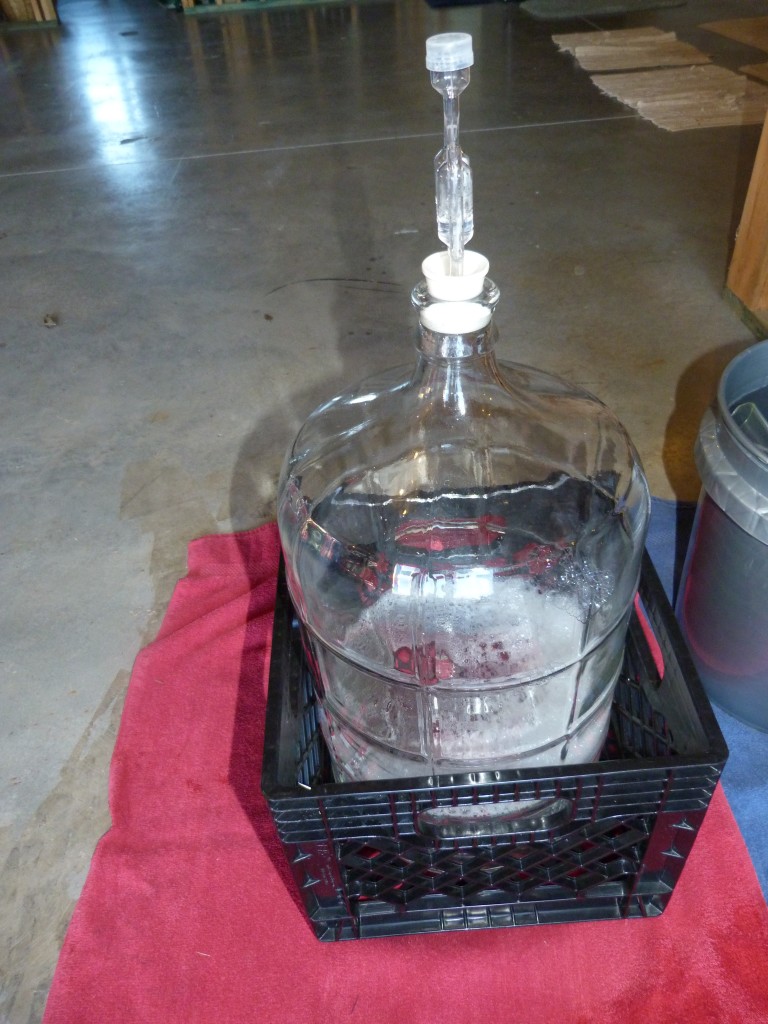
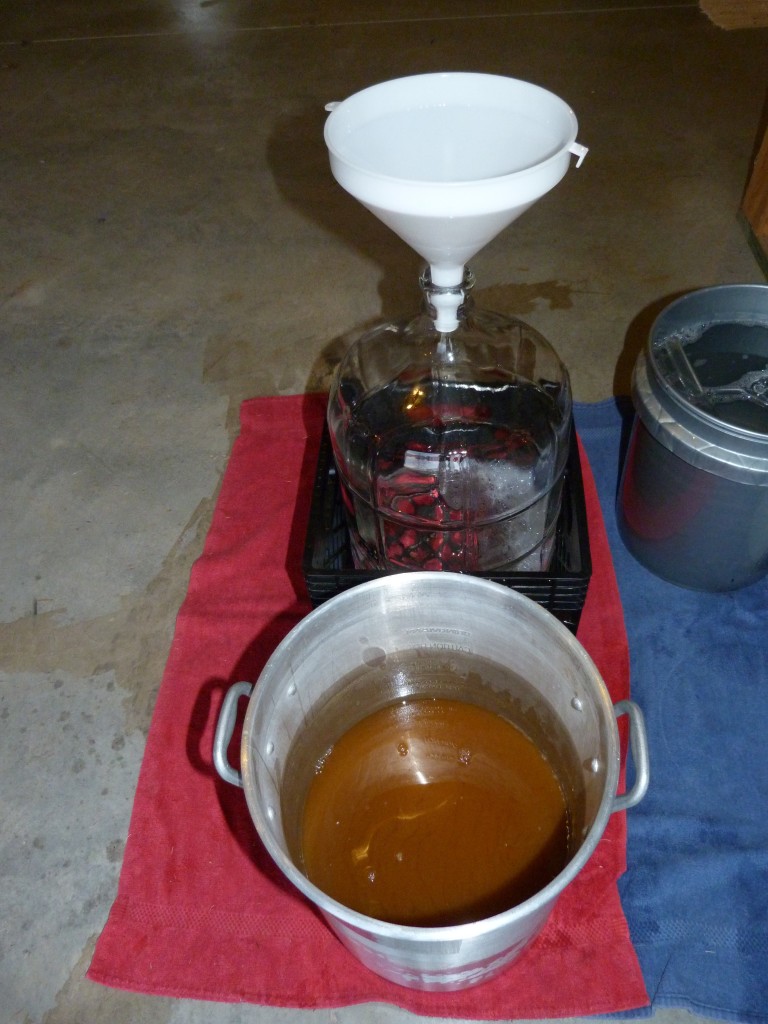
9. Add more cold water as needed to bring the volume to 5 gallons.
10. Aerate the wort. Seal the fermenter and rock back and forth (gently if you are using a glass carboy, so it does not break) to splash for a few minutes.
11. Add yeast (or yeast starter) once the temperature of the wort is 78° F or lower (not warm to the touch). Use the sanitized scissors to cut off a corner of the yeast pack (or use yeast starter), and carefully pour the yeast into the primary fermenter.
12. Seal the fermenter. Add 1 tablespoon of sanitized water or vodka to the sanitized fermentation lock. Insert the lock into rubber stopper or lid, and seal the fermenter.
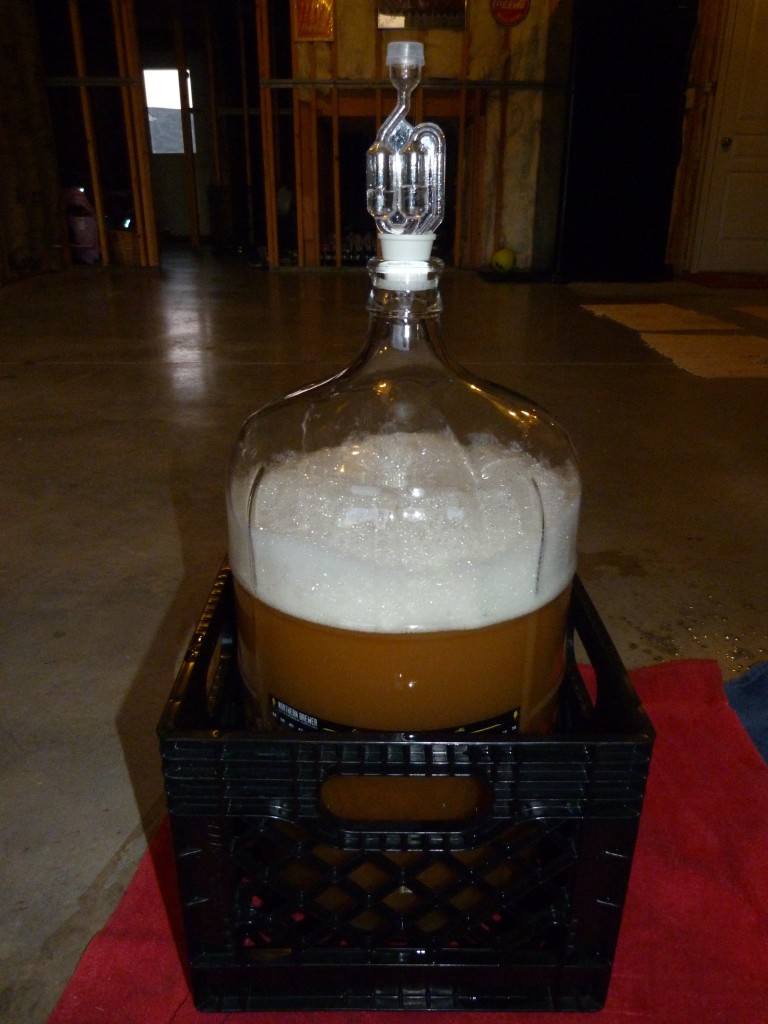
13. Move the fermenter to a warm (for this Cream Ale 59° – 75° F), dark, quiet spot until fermentation begins.
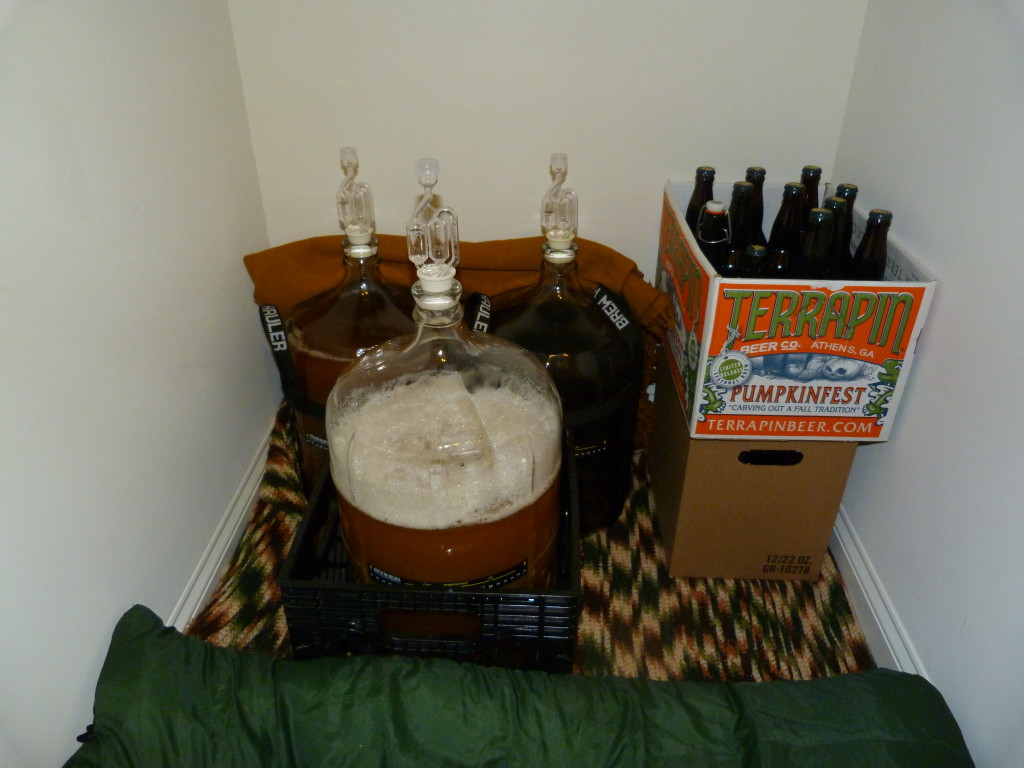
14. Active fermentation begins (for this Cream Ale) within approximately 48 hours of brewing day. Active fermentation will begin when there is a cap of foam on the surface of the beer, and you may see bubbles come through the fermentation lock.
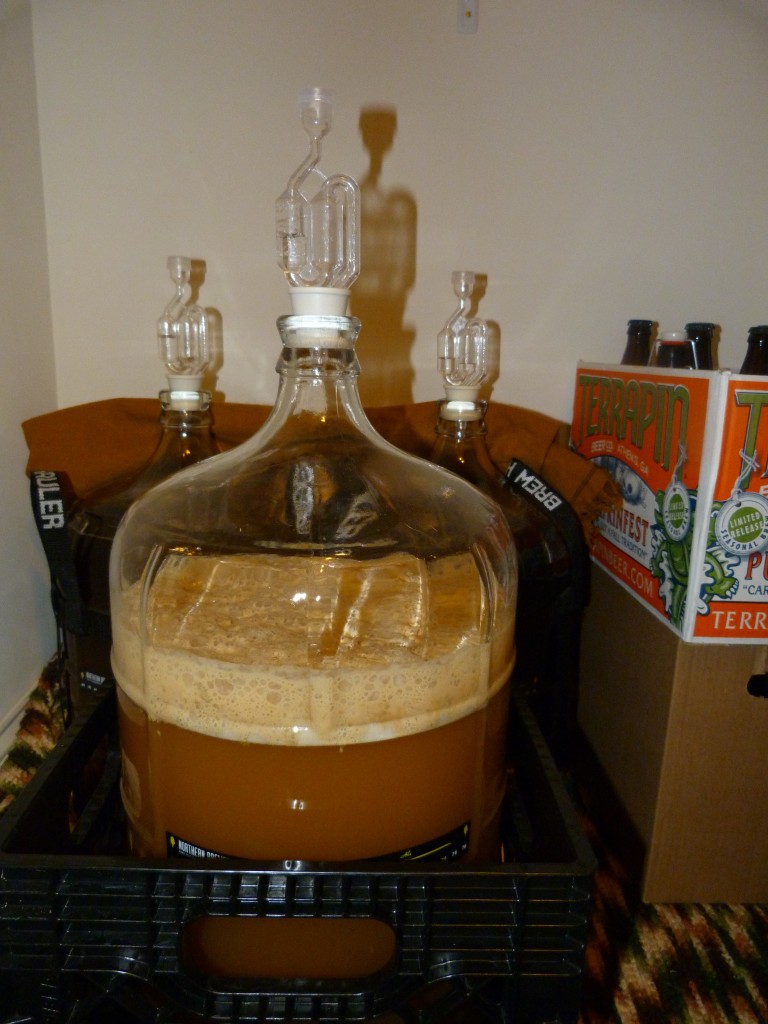
15. Active fermentation ends (for this Cream Ale) approximately 1-2 weeks after brewing day. Active fermentation will end when the cap of foam falls back into the new beer and bubbling in the fermentation lock slows down or stops.
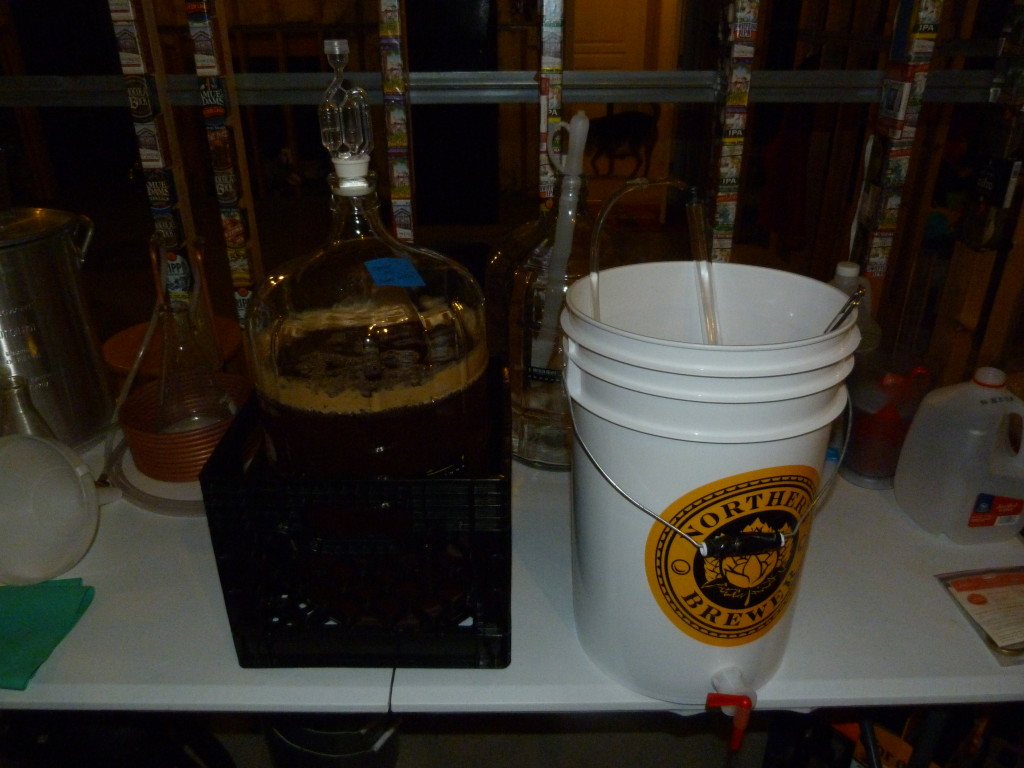
16. Sanitize siphoning and bottling equipment.
17. Mix a priming solution (a measured amount of sugar dissolved in water to carbonate the bottled beer) of 2/3 cup priming sugar in 16 oz. water. Bring the solution to a boil and then pour into the bottling bucket.
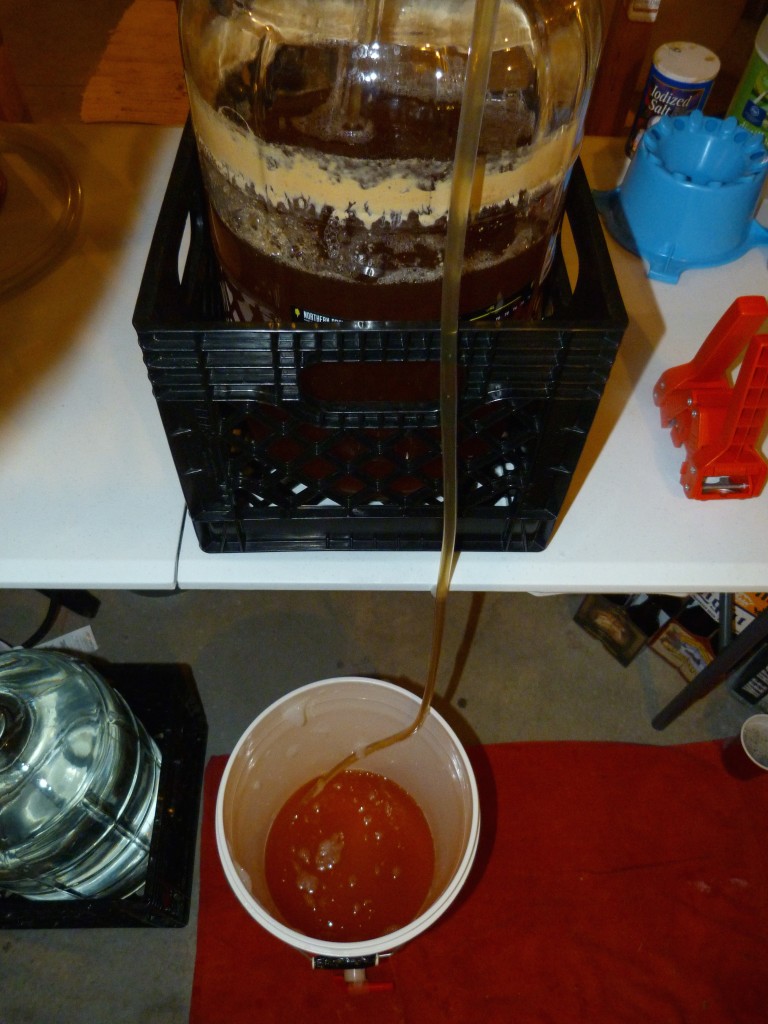
18. Siphon beer into bottling bucket and mix with priming solution. Stir gently to mix – do not splash.
19. Fill and cap bottles.
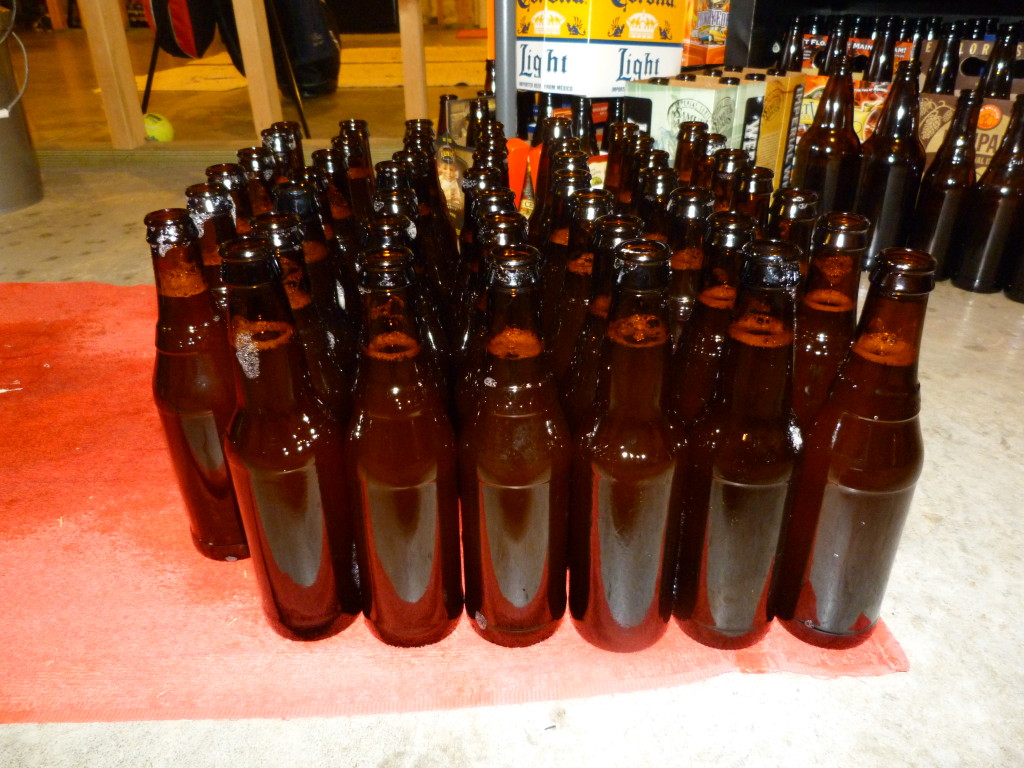
20. Condition bottles (for this Cream Ale) at room temperature for 2 weeks. After this point, the bottles can be stored cool or cold.
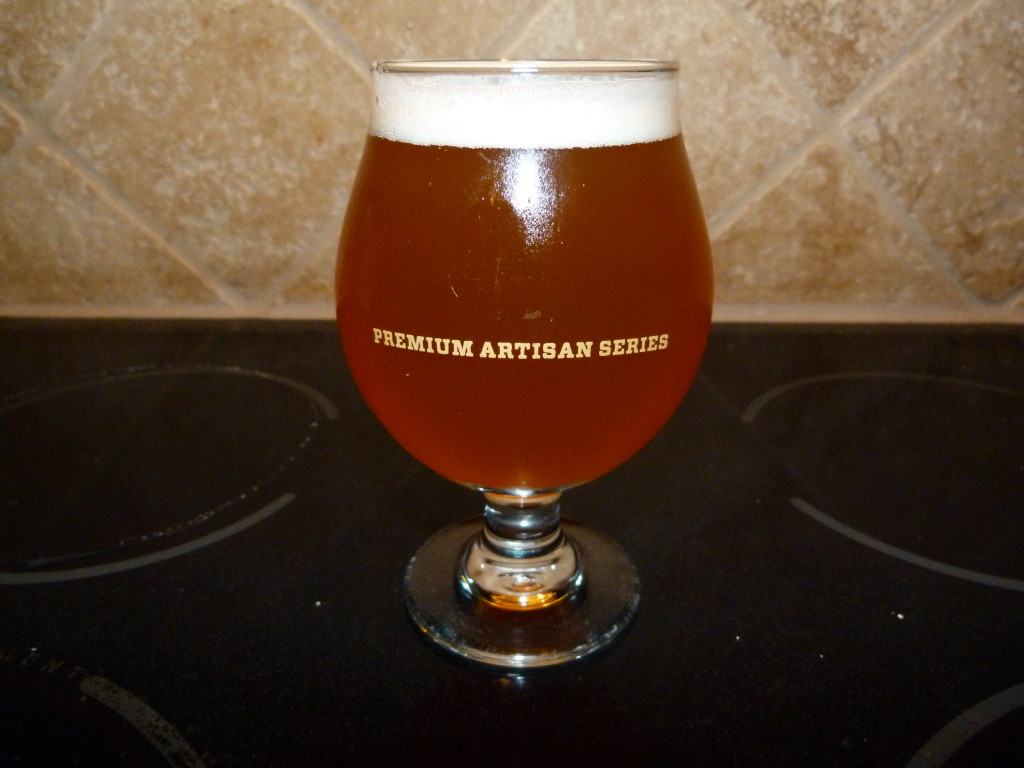
21. Now the moment you have been waiting for – serving! Pour your home brewed beer into a clean glass, being careful to leave the layer of sediment at the bottom of the bottle.
Share with Family and Friends. Cheers!
* I am an employee of Mohawk Home. #mohawkhome #emp
Note: Cream Ale Extract Kit and Recipe credit of NorthernBrewer.com


