Growing up I heard, learned and lived the words: Reduce, Reuse and Recycle. When it comes to decorating on a budget, the same word not only apply, they can make decorating affordable and fun.
Reduce the amount of clutter
Start by cleaning out your space. This gives you a clean palette and a fresh start. If you have a lot to get rid of, you could even hold a garage sale to raise fund for new décor.
Reuse décor pieces in other ways… and rooms
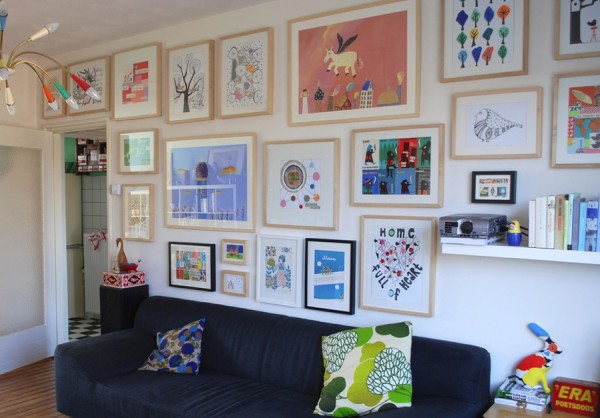
Take a look around your own home before you buy anything new. Start with a main room – like the living room – and begin with rearranging artwork, frames, even furniture. Once you have moved the décor around, another piece from another room might serve a better purpose in your newly decorated living room. This is a great way to change up your style and décor with spending very little – or nothing at all!
More ways to reuse around the home:
- Cut floral images from magazines or posters to frame, decoupage on a frame mat or to add color to an organization board with the help of Washi tape.
- Change the location or switch up your lamps and lighting fixtures. A well-lit space instantly changes the feel of a room and might even spark new ideas.
- Go through your children’s artwork and pull your favorites. Create an art wall with framed artwork, pinned art to a tack board or mixed in between family pictures scattered around the home. Your children will love seeing their masterpieces displayed as part of the décor and chances are, you will too! Displaying children’s art is a great way to add color and decorations to make your house feel like a home.
Recycle old pieces or find something new to you
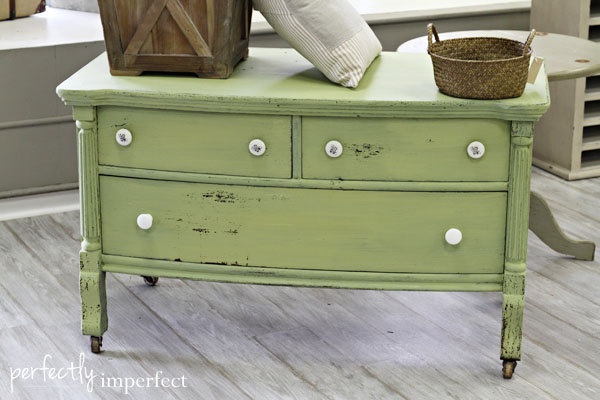
Garage sales, second-hand stores and thrift shops are perfect places to find new to you treasures. If you’re looking to conduct a DIY project with your new find, it’s typically best to go on a hunt for a piece you know you need – for instance, if you’re in need of a bedside table or bookshelf, you’ll have a pretty good idea of the size and style you’re looking for. That way, you don’t send yourself on a wild goose hunt or end up spending more money than intended. Just remember to look past the appearance of the item and envision it painted a fresh color or sanded to perfection. Think outside the box!
Creative DIY projects
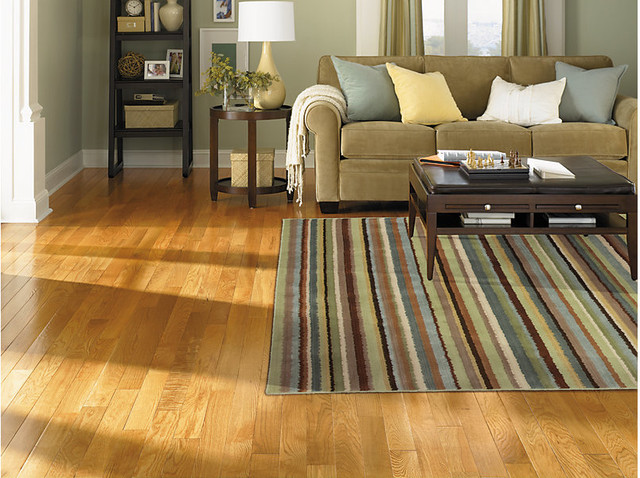
The best way to design and decorate on a budget is to make your own décor. Here are some of my favorite tips to perfect DIY home décor projects with basic sewing skills and knowledge of a sewing machine:
Make your own curtain panels with store-bought fabric or sheets or refurbish (or remake) old curtain panels into something new.
- Measure the height from the top of the installed curtain rod to the desired length of the panels.
- Then add at least six inches of length to account for the hem and the pole pocket at the top.
- Pin and iron the seams then remeasure the length once more before sewing.
Make your own pillow covers to change the look and feel of your couch, bed or bench. These easy, no zipper, pillow covers are a great way to save money on home décor – especially if you like to change up your décor often.
- Cut one piece of fabric to fit the pillow insert, while leaving ½” for seam allowance.
- Cut two back pieces to fit the pillow insert, also leaving ½” for seam allowance for the back of the pillow.
- Hem one side of the two back pieces at 2-inches. This will form the back of the pillow cover and be the entry point of your pillow insert.
- Fit all pieces together (inside out) with the two back pieces overlapping in the middle, back.
- Pin the edges and cut any excess fabric.
- Sew and turn inside out.
- Feed pillow insert through the folded pieces.
Written by:
Christina Holt, Writer/Teacher- Mommy Loves Coffee


